Can AI improve photo clarity without making faces look artificial?
EnhanceWizard Standard can be tried for a restrained clarity comparison, but it does not guarantee natural-looking skin or unchanged identity. Leave optional face restoration off for a first pass. Compare eyes, freckles, hair and texture at the same size; keep the original if the output looks waxy or changes meaningful details.
Inspecting mild softness, compressed edges and material texture on a supported source.
Product or portrait photos where the source is kept for an accuracy check.
When to choose another workflow
A guaranteed natural-skin result or a dedicated beauty-retouching preset.
Exposure, color-calibration or RAW work that needs adjustable photographic controls.
THE PRACTICAL DETAILS
EnhanceWizard at a glance
Free trial
An eligible Free Standard task requires no account or payment card.
Daily allowance
1 accepted image per device and up to 2 per shared IP each UTC day, whichever limit is reached first. The shared service budget also applies.
Image size
Free input and output must each have a longest side of no more than 1,024 pixels.
Formats and watermark
JPG, PNG and WebP. Standard image downloads have no watermark.
Processing and privacy
Your preview stays in the browser until you start. Standard processing uploads the image to private service storage and third-party processing providers; it does not run entirely on your device. Service-owned originals and results are scheduled for deletion within 24 hours; provider retention is separate.
HD processing
Standard HD is enabled. Sign in and review exact output dimensions and credits before processing; service availability is checked when you submit.
Face restoration
Optional face restoration is enabled for the Enhance goal and is off by default. It may alter facial details; compare identity against the source.
An accepted free attempt remains used if processing fails or is cancelled. Unused allowance does not roll over; signing in does not reset it. Processing depends on service availability; your allowance is checked before a task starts. Read the help and limits ↗
Example originals are AI-generated simulated low-quality inputs, not customer photographs. Comparisons use actual Standard model outputs. Dimensions, scale and settings are shown for each evaluation; results vary by source.
THREE SIMPLE STEPS
Your photo, from upload to download.
01
Choose a photo
Upload, drop or paste a supported image. Your preview stays local until you start.
02
Review and process
Choose your goal and output. Check the dimensions, allowance and price beside the canvas.
03
Compare and save
Drag the divider, inspect at 100%, and download the version that works for you.
A CLOSER LOOK
What to look for in your result.
Photo quality involves more than pixel count. Look at the subject, the lighting and the fine texture, then decide whether an enhanced version is actually more useful.
Choose a photograph to judge fairly
Start with the original camera file when possible. Screenshots, messenger copies and repeated JPEG exports may already have lost fine detail. Select a portrait, landscape or product sample to practice comparing texture; these are different subjects for inspection, not hidden model presets.
What a natural result should preserve
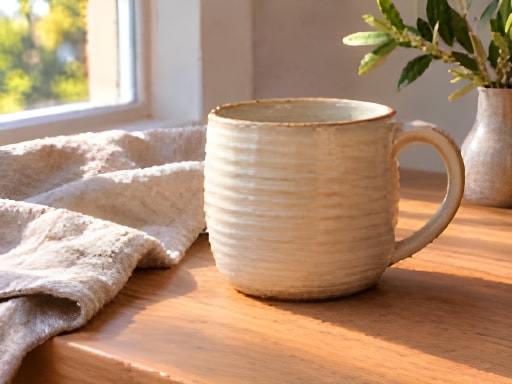
For a portrait, inspect skin pores and the boundary between hair and background. For a landscape, check branches and distant building edges. For a product, pay attention to the actual material and proportions. An enhancement that makes a ceramic glaze look like plastic is not an improvement for a shop listing.
Know when to change tools
Use Unblur for a mildly soft photo and the photo upscaler when the main problem is output size. Strong color casts and incorrect exposure may need a dedicated editor. Standard enhancement does not offer separate natural, portrait and landscape engines or black-and-white colorization.
GOOD QUESTIONS
Before you begin.
How do I enhance photo quality without making skin look artificial?
Start with Standard processing and leave optional face restoration off. Compare the same face at the same size, especially eyes, freckles and hair. Keep the original if the result changes identity.
Is improving quality the same as increasing resolution?
No. Upscaling changes pixel dimensions; perceived quality also depends on focus, lighting, compression and texture. Inspect both the dimensions and the image.
Are portrait and landscape options different processing modes?
The sample subjects help you compare relevant detail. Standard uses the same processing route for them; there are no separate scene presets in this release.