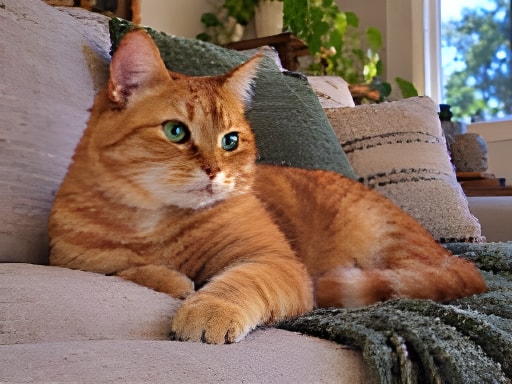
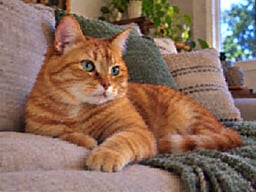
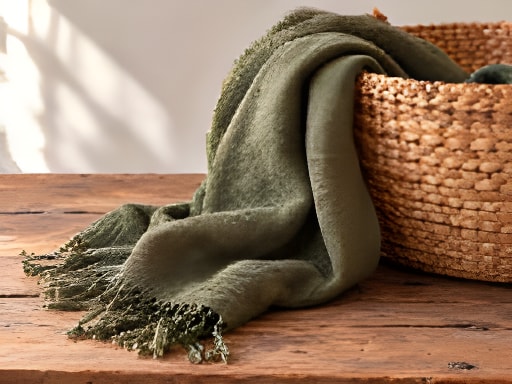
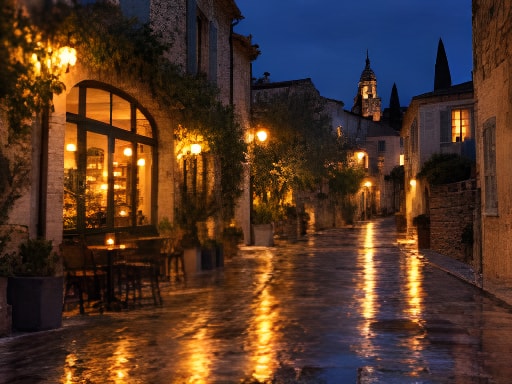
Inputs were generated and edited to simulate low-resolution capture and compression. The Standard model received the exact file shown; a separately generated clear image was not substituted as its result.
02
Record settings and dimensions
The main eight pairs use 256 × 192 inputs, actual 512 × 384 Standard 2× outputs and face restoration off. The pronounced-blur case below has its own recorded dimensions. These settings describe evaluations, not a promise that every upload gets the same size.
03
Inspect changes and limitations
Compare at equal display size, then check identity, words, material texture and straight lines. Sharper-looking detail can be estimated or altered. The comparisons combine enhancement and enlargement; they do not isolate denoising or establish accuracy on real customer photos.
Reviewed October 13, 2026. These are individual demonstrations, not a controlled comparison with competing products, a customer success rate or a benchmark proving natural-skin preservation. Keep your source and evaluate your own result.
This existing evaluation starts with pronounced simulated global blur. The result is larger but remains blurred. It is useful evidence for choosing a better source or a different workflow, rather than assuming every image can be rescued.
Simulated low-quality inputStandard result
Drag the divider or use arrow keys in steps of five percent. Home and End show the full result or original.
A limited result
A larger result can still be blurred
Pronounced simulated focus blur remains visible in the actual Standard 2× output. Eye shape and skin detail are still ambiguous. This case illustrates a limitation, not reliable recovery of a severely blurred face.
512 × 384 → 1024 × 768Standard · 2× · face restoration off
Where these examples come from.
The source images were created with an image generation tool for this demonstration. They are not customer uploads or historical photographs. Processed pairs use the configured Standard Real-ESRGAN route, with face restoration off and actual 2× upscaling from 256 × 192 inputs to 512 × 384 outputs. The generated inputs simulate substantial loss of detail from low resolution and compression. Each result was produced from the exact input shown, rather than using a separately generated clear image. Input and output content checks were performed before publication.
Compare at a matching scale. These examples show individual model evaluations, not a guarantee that every photo will improve in the same way. Source-only entries are explicitly identified when an output has not been confirmed.